Repointing is one of the most common jobs on an old building, and one of the easiest to get badly wrong. Done properly, with the right lime mortar, the right joint profile and a bit of patience, it protects the wall for decades and is almost invisible when finished. Done with cement and an angle grinder, it can do more damage in a fortnight than the previous fifty years of weather.
HD Building Services carries out traditional lime mortar repointing across Norwich and Norfolk, on soft red brick, knapped and cobble flint, carrstone and stone. We rake out by hand, mix mortars to suit the individual wall, and match the original joint profile so the finished work looks like it belongs.
Does your wall actually need repointing?
Not every tired-looking joint needs redoing. Repointing is disruptive to an old wall, so the honest answer is often “not yet, and not all of it”. It's worth doing when you can see:
- Mortar that has receded more than about 10–15mm behind the face of the brick or flint, leaving the arrises exposed to weather.
- Joints you can rake out with a fingernail or a car key, or that shed sand when you brush them.
- Open joints letting water in, with damp showing on the inside face of the wall in the same place.
- Hard cement pointing that's cracking away from the masonry, or bricks whose faces are spalling and crumbling around sound grey mortar. That's a classic sign the pointing is doing the damage.
- Loose or dislodged flints where the bedding mortar behind has failed.
- Plant growth, moss or ivy roots opening the joints up.
Good conservation practice is to repoint only what has actually failed. If two elevations are sound and one is weathered, we'll tell you that and quote for the one. It costs you less and it's better for the building.
Why lime and not cement
Old solid walls have no cavity and usually no damp-proof course. They handle water by absorbing it and letting it evaporate back out, and the mortar joints are the main escape route. That only works if the mortar is softer and more permeable than the masonry around it.
Lime mortar is exactly that. It's sacrificial. It takes the movement, the frost and the salts so the brick doesn't have to, and when it eventually wears, you replace mortar rather than brickwork. It also has a degree of self-healing: fine cracks re-seal over time as free lime re-deposits in them.
Cement mortar is harder and effectively waterproof. Water still gets into the wall through the top, through open joints and from splash-back at the base. It just can't get out through the joint any more. So it leaves through the face of the brick, carrying dissolved salts with it. The face blows, the frost gets in behind, and you end up replacing bricks. On flint work, cement is worse still: it's too rigid to accommodate movement, so it cracks and lets water sit behind the flints until they drop out.
How we repoint a wall
The method matters as much as the material. Every job runs roughly like this:
- Rake out by hand. Quirk and plugging chisels, not an angle grinder. Grinders widen the joint, chew the arrises off the bricks and leave a wall that will never look right again. We cut back to sound mortar, generally to around twice the joint width, so the new mortar has something to grip.
- Clean and damp down. The joints are brushed out and the wall is wetted before pointing. A dry old brick will suck the water straight out of a lime mix and leave you with a weak, dusty joint.
- Mix to suit the wall. Mortar is matched to the masonry it's going into. The sand is chosen for colour and grading, and the lime type for exposure. Softer wall, softer mix.
- Fill in layers. Deep joints are built up in passes rather than filled in one go, with each pass allowed to firm up first. Filling deep joints in a single pass is how you get shrinkage cracking.
- Finish when green. The joint is beaten back with a churn brush once it has gone thumb-print hard, which compacts the surface and exposes the aggregate. That's what gives lime pointing its texture instead of a smeared, plastic look.
- Protect and cure slowly. New lime work is covered with damp hessian and sheeting, kept off the wind and sun, and protected from frost. Lime cures by carbonation and it won't be hurried. Rushing this stage is the most common cause of failure.
Choosing the right lime
There's no single “lime mortar”. Specifying the wrong one is nearly as damaging as using cement, because a mortar that's too strong behaves like cement. The main options:
Sand matters just as much as the lime. The colour of a finished joint comes almost entirely from the aggregate, so we match sand to the existing mortar and, on visible elevations, put up a sample panel for you to approve before we point the whole wall.
Pointing profiles and finishes
The profile is what your eye actually reads from across the street. We match what the building originally had rather than defaulting to one style:
- Flush pointing. The most common and usually the most appropriate on old brickwork, finished level with the masonry face.
- Brushed / bagged flush. Flush and then churn-brushed to expose the aggregate, giving a soft, slightly open texture typical of older lime work.
- Weatherstruck. Angled to shed water, appropriate on some later and more exposed work.
- Bucket handle / keyed. A recessed curve, more common on Victorian and later brickwork.
- Penny struck and tuck pointing. Fine decorative work found on better-quality Georgian and Regency elevations, where a fine line is run into the joint.
- Galletting. Small flint chips or spalls pressed into the joint, traditional on Norfolk flint walls both decoratively and to reduce the mortar area.
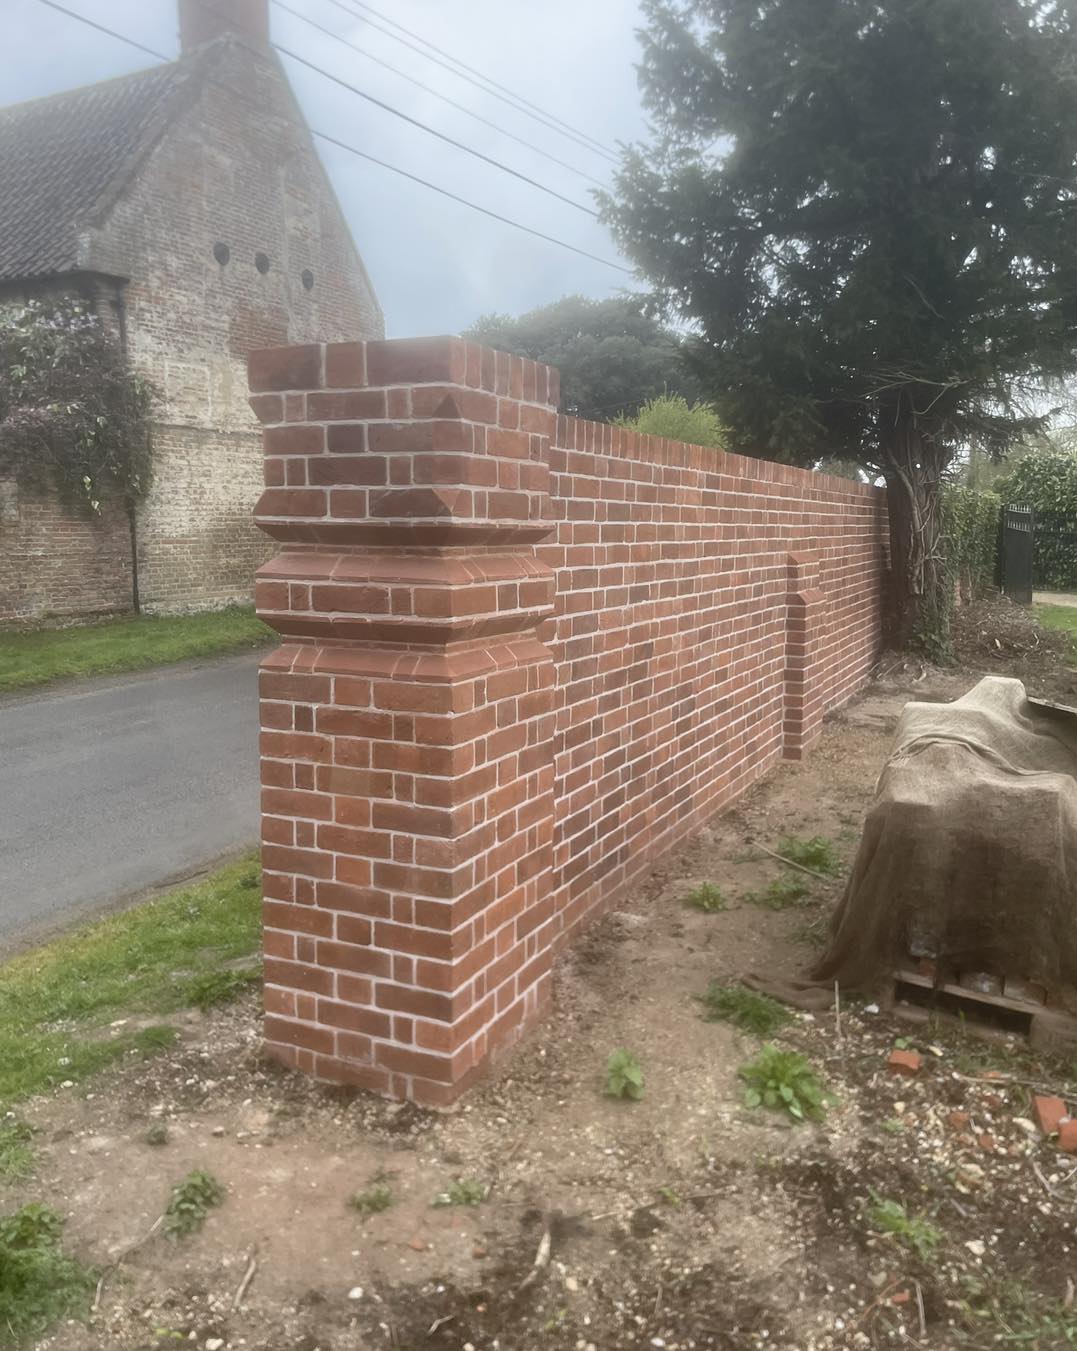
Flint walls and Norfolk brickwork
Flint is the material Norfolk is built from, and it's a different skill. Because flint is irregular and impermeable, almost all the movement and all the weathering is taken by the mortar, so the mix and the joint detail carry much more of the load than they would on brick. Cobble flint, field flint, knapped flint and flushwork panels each want a slightly different approach.
We also work extensively on Norfolk soft red brick, matching bond and coursing for piecing-in and stitching, and on carrstone in the west of the county. Where bricks need replacing we source reclaimed or specially matched units rather than dropping a modern machine-made brick into a handmade wall.
Timing and how long it takes
External lime work is seasonal. Lime needs to carbonate slowly and it must not freeze before it has, so we generally programme external repointing between spring and early autumn, and protect new work carefully at either end of that window. If you call in December about a wall that needs pointing, we'll usually book you in for the spring and tell you honestly why.
Duration depends on the elevation, the access and how hard the existing mortar is to remove. Hand-raking cement out of an old wall is slow going. We'll give you a realistic timescale with the quote rather than an optimistic one.
Where we work
Lime repointing across Norwich and the whole of Norfolk, including: